Sharing every moments and information on social media sites are being popular. Starts from just only make a short text status till share a long video on social video media sites, haha same as me. I usually uploaded a very huge video with long duration on my Online Streaming account and sometimes i took more than one day to just upload a single videofile with not less than 50GB (Giga Bytes) on my youtube account and sometimes i also need to face problem like black out or connection problem that makes me to re-upload again from the very beginning .
When making a video, i recently used MP4 standard encoding format and at least every video has not less than 4GB in size and when i try to upload to my youtube channel it take really long time to be finished. Then i try to make an experiment by decreasing video quality from 100% to 80%, so it could make the file is smaller and the upload time decreased ( in my hope ). Yes, it makes my video file is smaller and cut the upload time, but i just not satisfied yet by trying to set my video quality to 60% with the hope that it would be great. After that i got my video more smaller and cut more time to upload but i found that my video is look like a mess with broken pixels on the part with detailed high fps rate. More over after i try to compare the processing time after video has been uploaded, i found that the processing time is almost the same between before and after.
So i searching for references to find the best encoding that fit to streamable video format. many references says that YouTube MP4 is likely buggy and the alternative is using MKV or MPEG2 with h264 and aac format. When i knew it then i convert my video files into such format. The upload and video processing now faster. with this solution then another problem come up that not every device is could handle MKV format like my LED TV.
With that problem, i need to keep the file both of MP4 format and MKV format since usually i need to play it on my LED TV. This kind make my storage become almost full and took to much space ( my 1TB Hard Drive just stay about 1 week before it became full).
Since i have downloaded some of video converter to convert my video to MKV format then i decide to make experiment with the video setting on how to make my video still in MP4 format ( since almost device is supported this kind of format ) but in streamable one. Just for the info, i try to ask my friend who may know and he just said that i need to upgrade my connection to corporate package ( LoL that is out of range).
After many experiments then finally i found the best alternative settings to make my MP4 become streamable with smaller file size and fast upload time. OK, then let’s try and here i used Any Video Converter to make my video more streamable. You can use another video converter, but on my case and with the current setting that AVC is the most preferable for me.
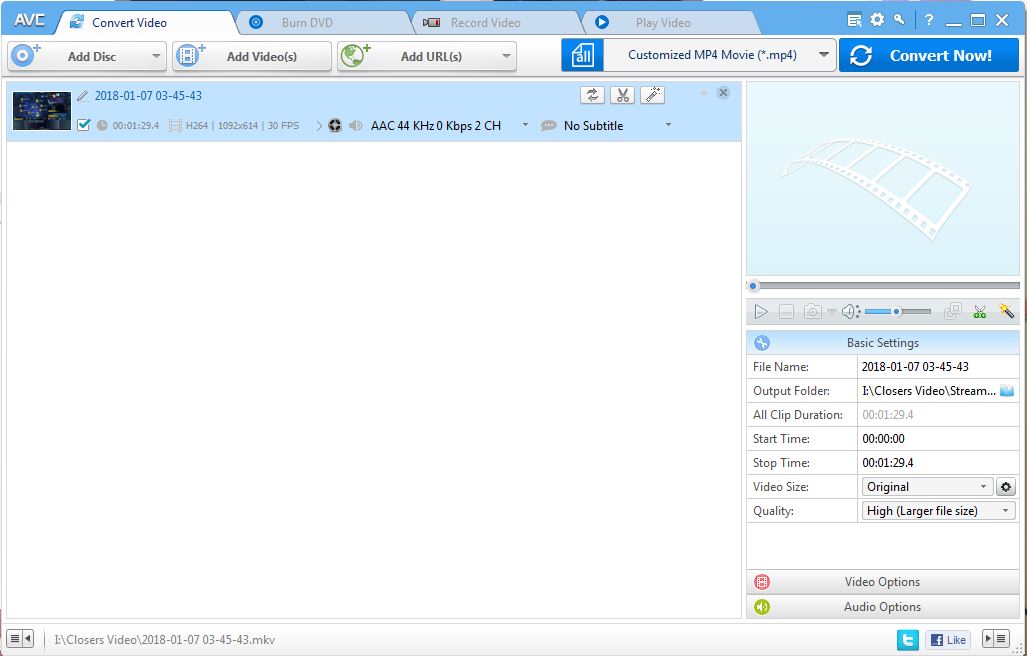
1. First open the Any Video Converter and choose Customized MP4 Movie (*.mp4)
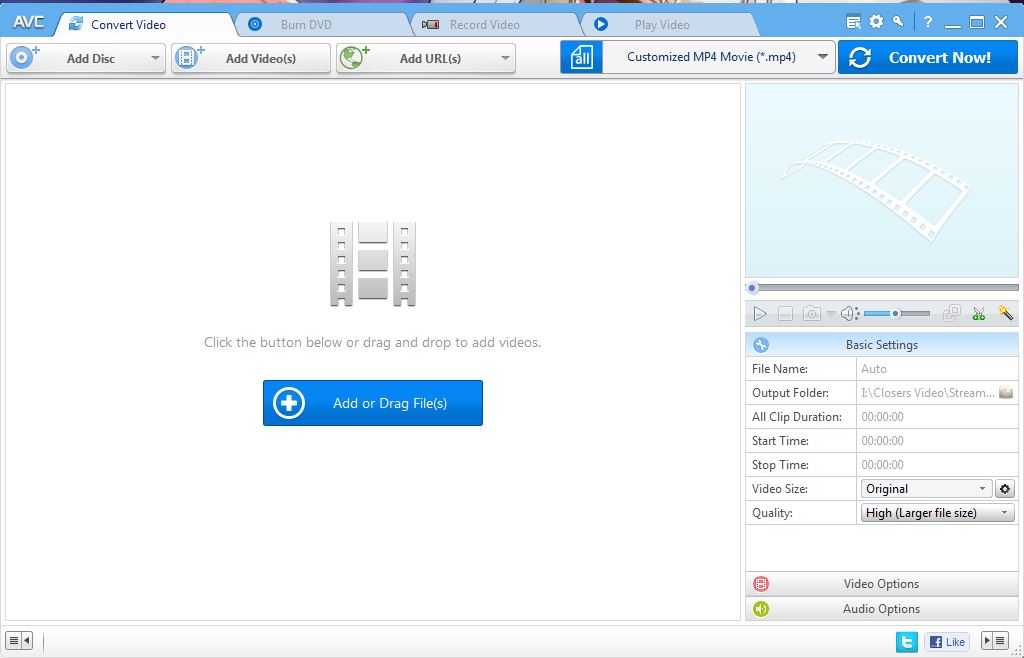
AVC Video Converter Interface
2. Choose the videos that you want to be convert and uploaded to online streaming site by click on Add Video(s) menu on the top bar selection.
Upload Youtube Faster 1
Choose The Video
On the right panel you’ll see some options tab such as Basic Settings, Video Options, and Audio Options. on the Basic Settings you can choose for the file name of converted video, output folder to store, start time and stop time (if you want to make partial convert of your video), Video Size( Here i use original to keep the resolution of the video, you can choose another option, smaller video frame size will give you smaller video size in storage), Quality (i use High to make my video stay in high quality, although there are notified that you’ll get larger file size, but the video is in smaller size than the unconverted video).
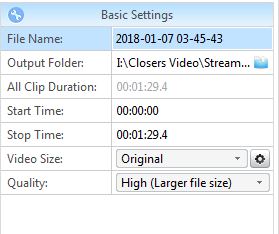
Upload Youtube Faster 1-Basic Setting
On the Video Options i just changed the Video Codec to x265 ( Video Codec X265 is the improvement of X264 with better quality with smaller size), just leave the others option as default.
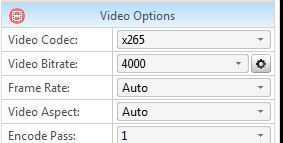
Upload Youtube Faster 1 – Video Options
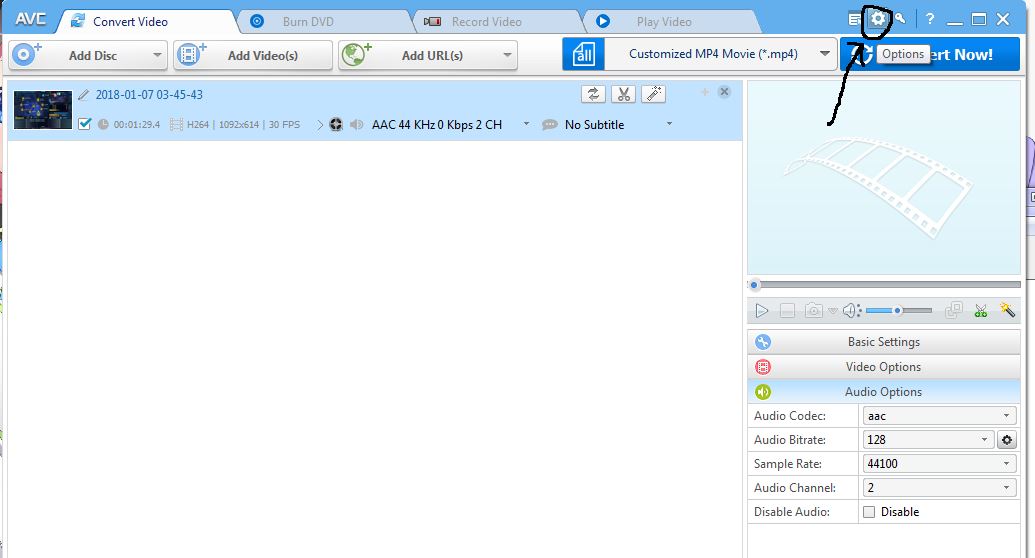
For Audio Options, you better choose aac for audio codec, and for audio bitrate, sample rate,and channel you can set up as you want ( i suggest to use 128 in Audio Bitrate, 44100 for Sample Rate, and 2 for Audio Channel)
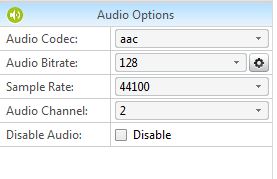
Upload Youtube Faster 1 – Audio Options
3. Don’t to hurry to click convert, but it’s need to be set up more to gain best result. You should click on Options menu with a gear icon on the top right bar ( above the Convert Now button).
Click Options icon Gear
Here you’ll see the Options window with some of selections tab.
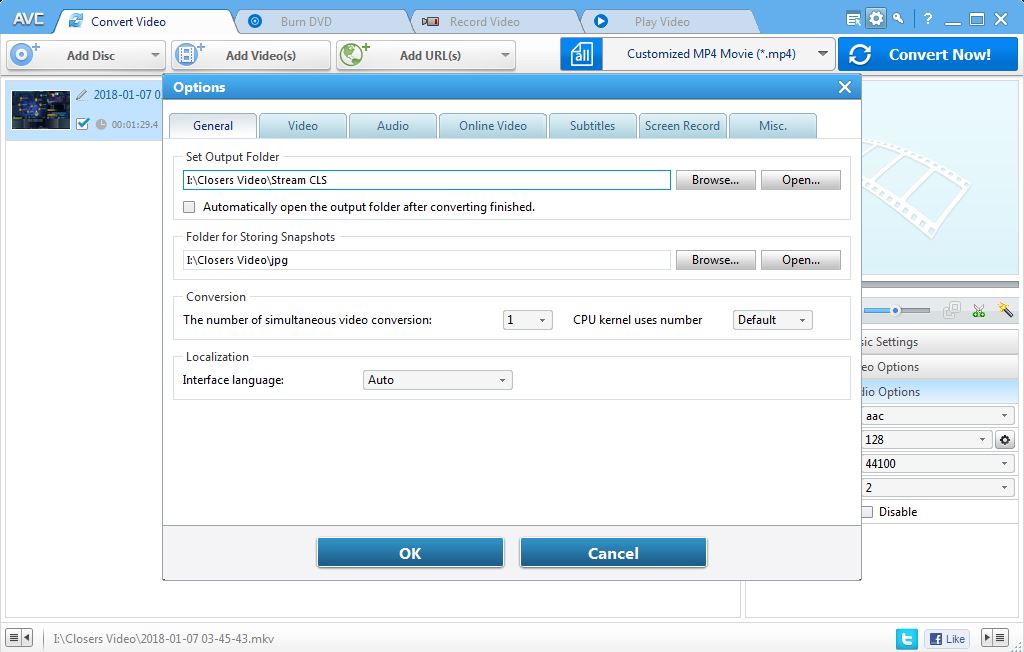
Options Window Screen
On the General tab, you can select where you want to save the output folder video and for the video snapshots. in the Conversion there is the options that how many you want to use the CPU’s and their core’s to be used during the conversion (more cpu and kernel used there mean your video will be processes faster but your PC may be in high load and others program may be in lag).
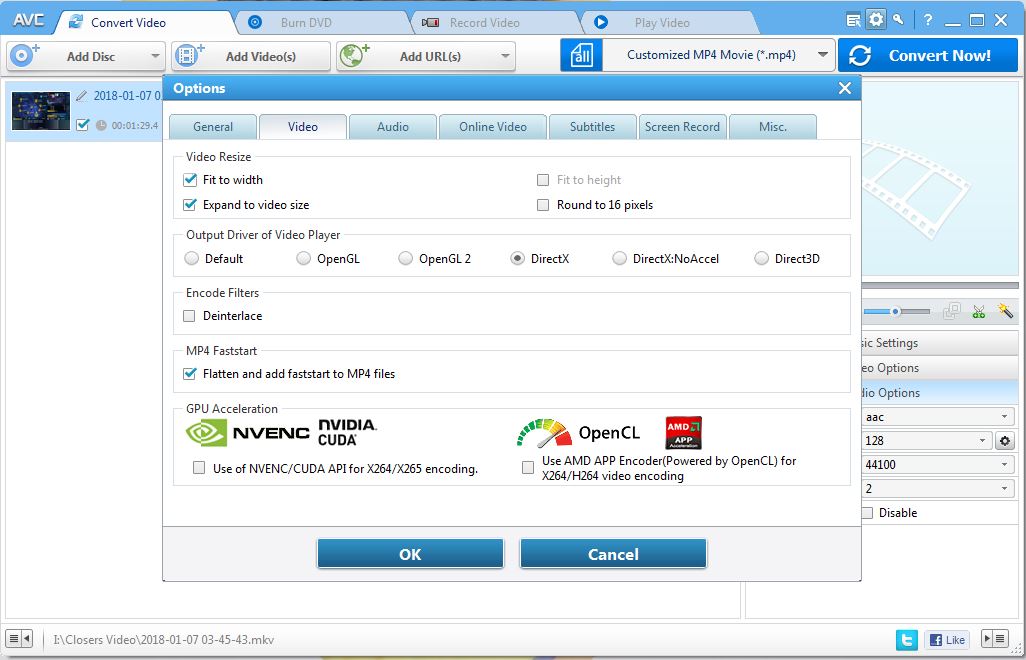
Video Options Tab
On the video tab options, check up on “Fit to width” and “Expand to video size” on Video Resize Section. for Output Driver of Video Player i used DirectX ( Choose as you want, but i prefer used DirectX), on Encoded Filters (hmm just leave the options unchecked). the more important is to checked list at “Flatten and add faststart to MP4 files” on MP4 Faststart section. for GPU acceleration since we used x265 you should choose and checked on “Use of NVENC/CUDA API for X264/X265 encoding” if you have Nvidia GPU on your PC, but if you didn’t have it then just leave it default(unchecked all on GPU acceleration).
Although there is an Online Video tab options, but i prefer to store the converted file to the disk first before upload it since if i used to upload video during the conversion and then some of network problems occurs then my video will be on partial upload (being cut).
4. Well after all are set, then click on Convert Now! button and wait for the Conversion finished. Once the conversion finished, you just upload the video to the online videostreaming site and enjoy to upload faster than before.
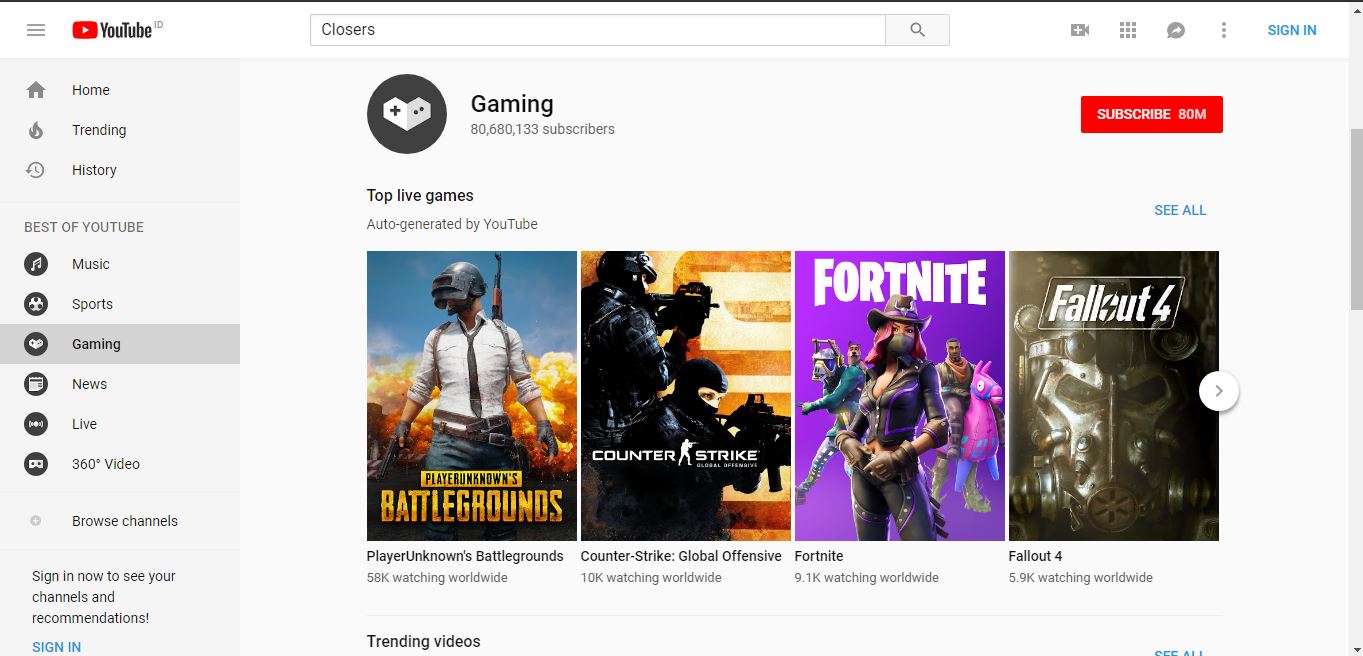
Online Streaming PUBG Counter Strike Fortnite Fallout 4
Thank you very much for reading my article, if you have another experience or other setting that run more better, just comment or contact on my contact us page to improve the article.